")
Sometimes you need small tools that perform automated tasks on corporate mail server on premises or in the cloud.
Noos Email Tools is a flexible and constantly evolving tool that gathers solutions to the problems encountered over the years.
Noos Email Tools will assist you in the daily administration of the system and in the research activities.
Features
Simple, intuitive, and innovative user interface to manage the service.
No reply service with active monitoring of a front-end mailbox.
Free! Noos Email Tools doesn't cost a dime.
Minimum system requirements
Windows 10 (version 1607 or later), Windows 8.1 or Windows 7 SP1
1GHz processor
1 GB of RAM
Noos Email Tools depends on Microsoft .NET Framework 4.6.1, which is installed automatically if it's not already present in the system.
Noos Email Tools will run automatically in 64-bit mode, if possible.
Noos Email Tools uses the hard disk to install itself and store the log files. For this reason, the real disk space requirements will depend on the actions performed.
Download
If you want to install Noos Email Tools, please use the button below.
![]()
Support us and Donate
You can show your appreciation for Noos Email Tools and support future development by donating.
Thank you!
Donate with PayPal
You can provide direct support by way of donating. I appreciate any amount.
To make a donation, click on the PayPal button.

I take time from my personal live to support the project.
I understand that not everyone can donate, but I love it when people show they care by sharing.
Documentation
Initial setup
Manager application allows you to configure and test the tools.
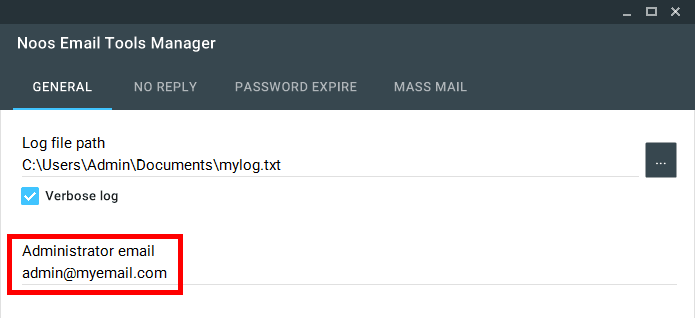
On General tab, you can set the service log file.
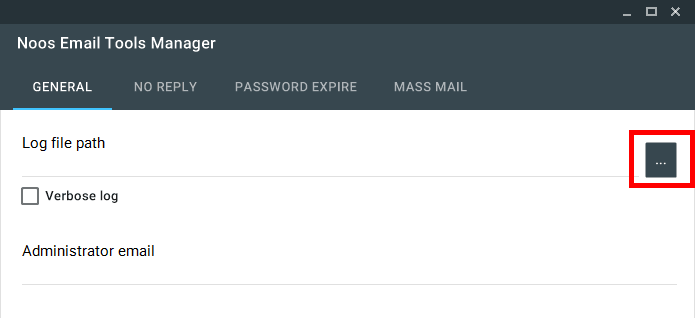
You can also choose to save only errors or all activity in the log, so you can debug the process during program execution.
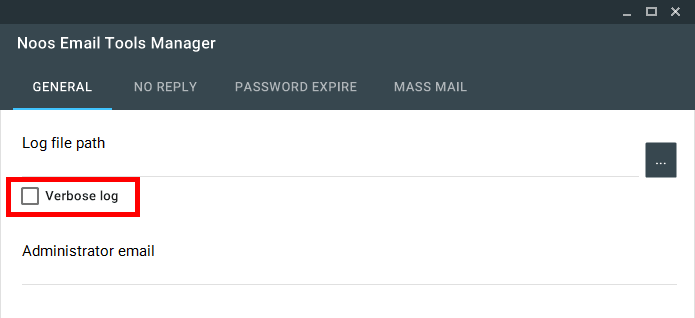
Set the email address to send reports when it's running.
No reply notification service configuration
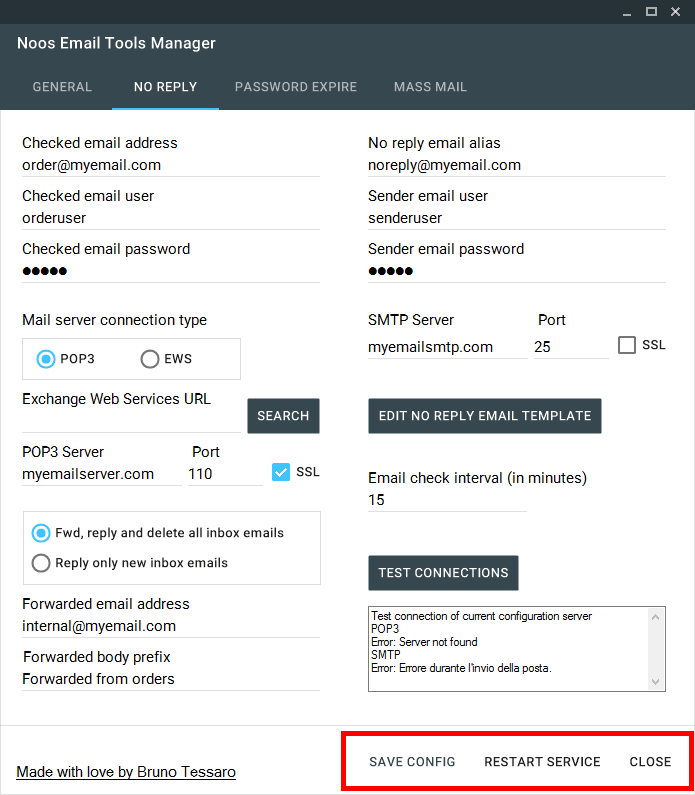
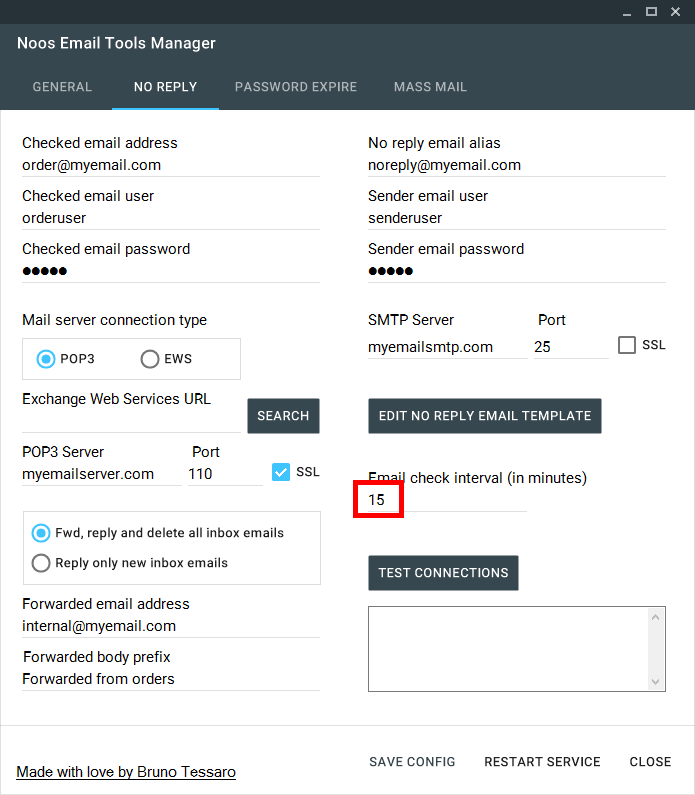
Choose the no reply tab.
Configure the mailbox to monitor.
Enter the email address, user and login password.
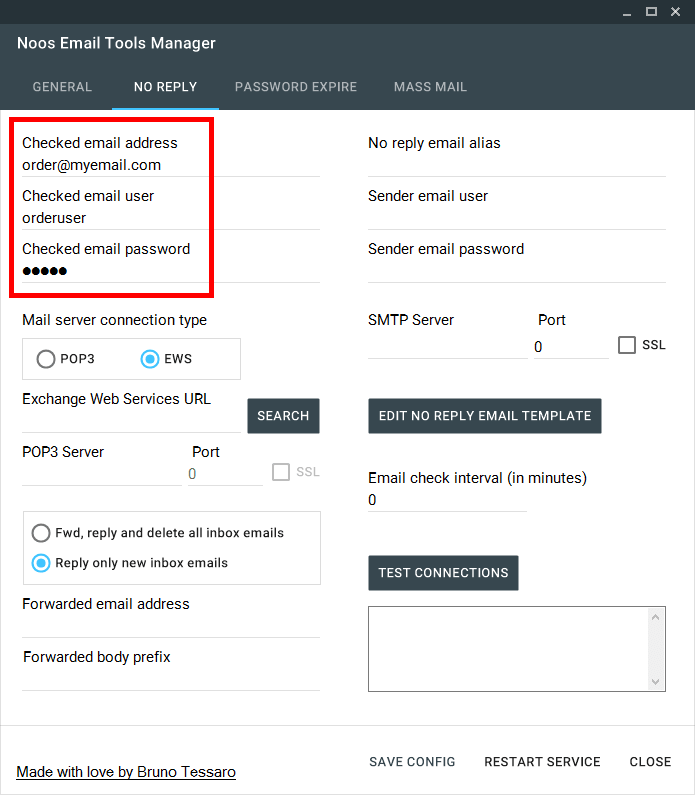
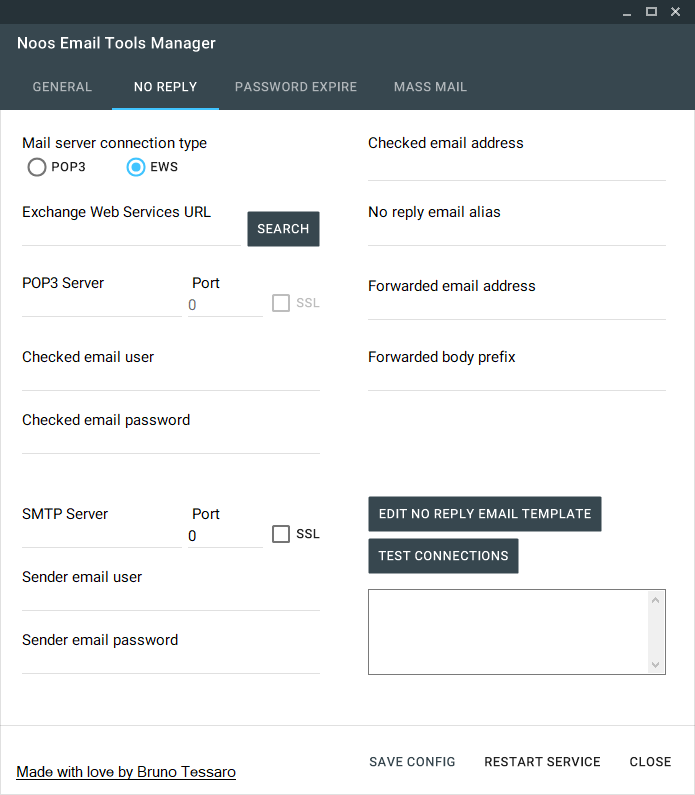
Choose the connection type to mail server.
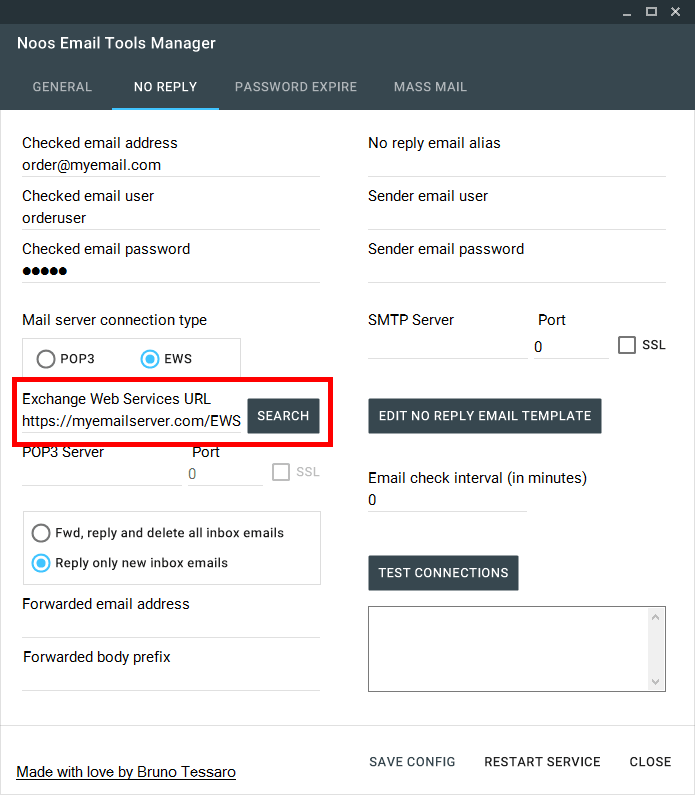
You can choose between POP3 and Exchange Web Service.

If you choose EWS, you can use Search button to take advantage of autodiscover or manually insert url of Exchange web services.
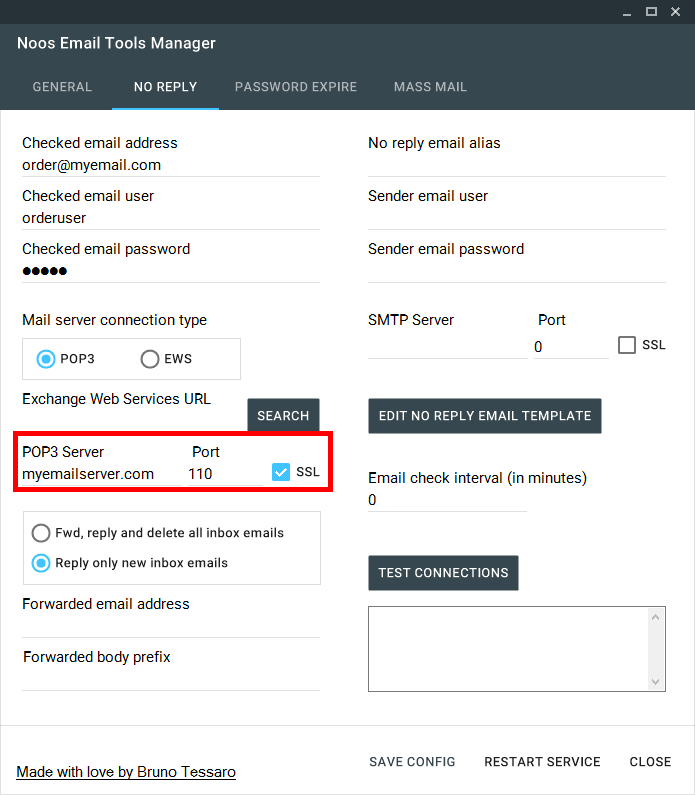
If you choose POP3, enter server and port to connect.
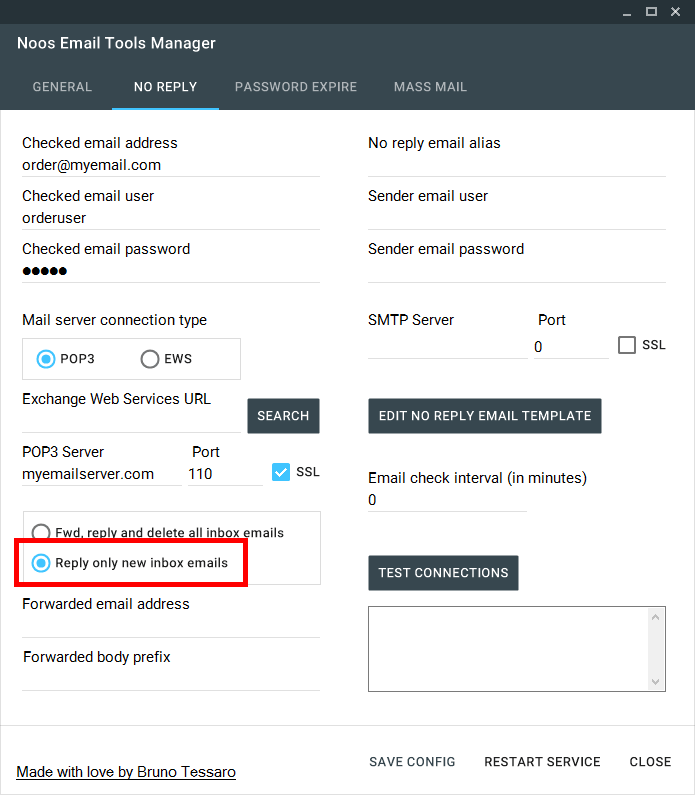
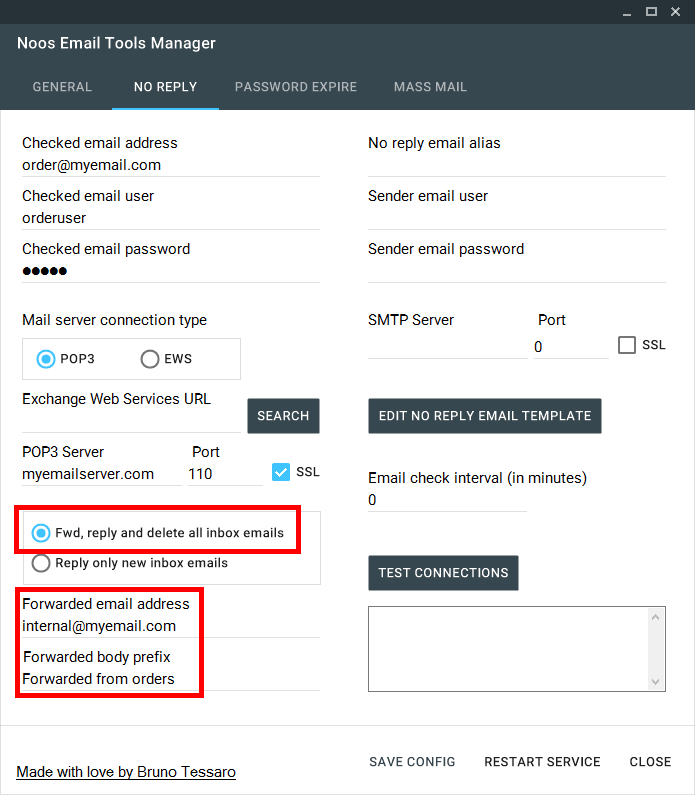
Now, you can choose between two modes:
Forward new incoming emails, delete them and send notification.
Send notification of new emails received, and mark them as read, without deleting them.
If you choose to forward email, enter the email address to be forwarded and the text to be placed before the forwarded email body.
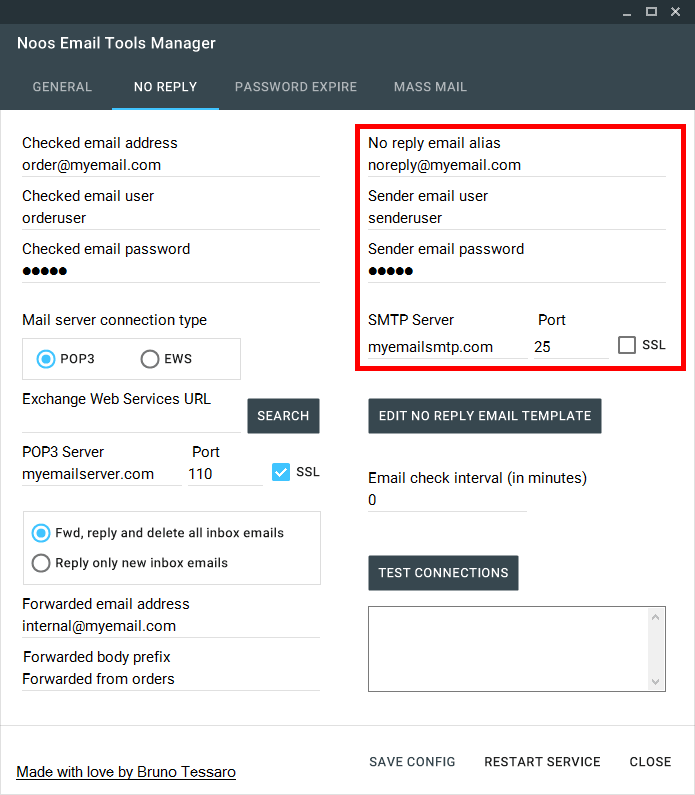
Set sender account of notification, the SMTP server, user and password.
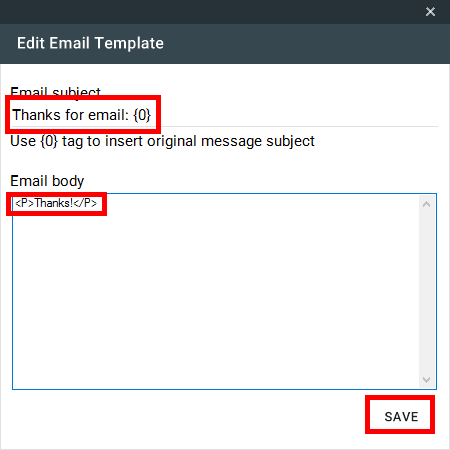
You can customize title and body of notification email.
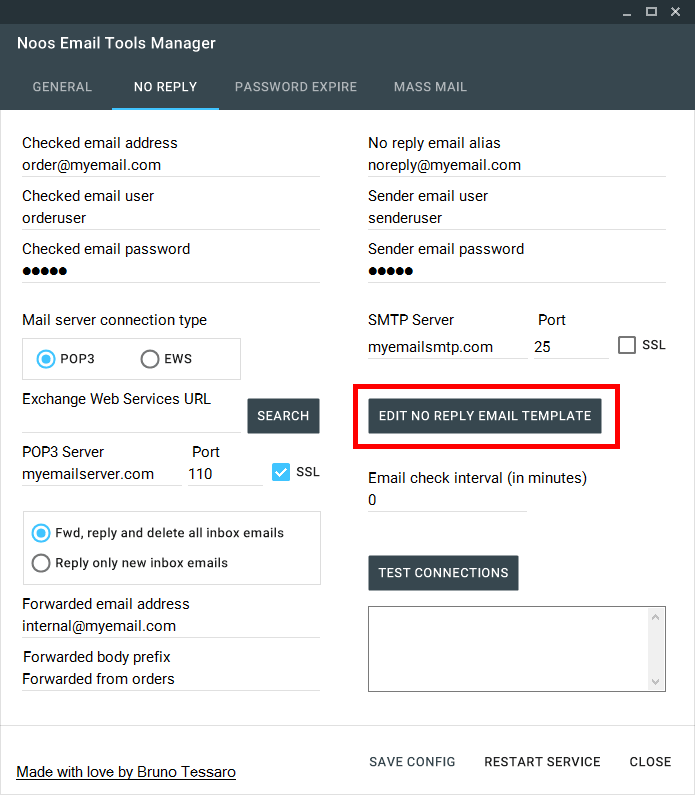
Enter the title of email. You can enter original title of received email using the tag {0}.
You can write the body of the email as text or as HTML code.
Click Save when you're done.
Enter every minute to check the mailbox to be monitored.
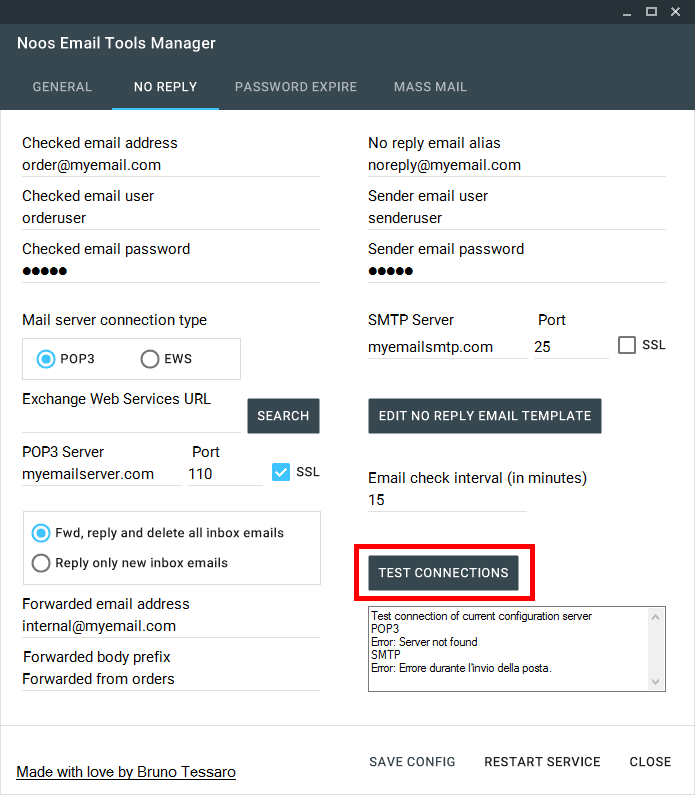
Finally, you can take a test and verify the connections.
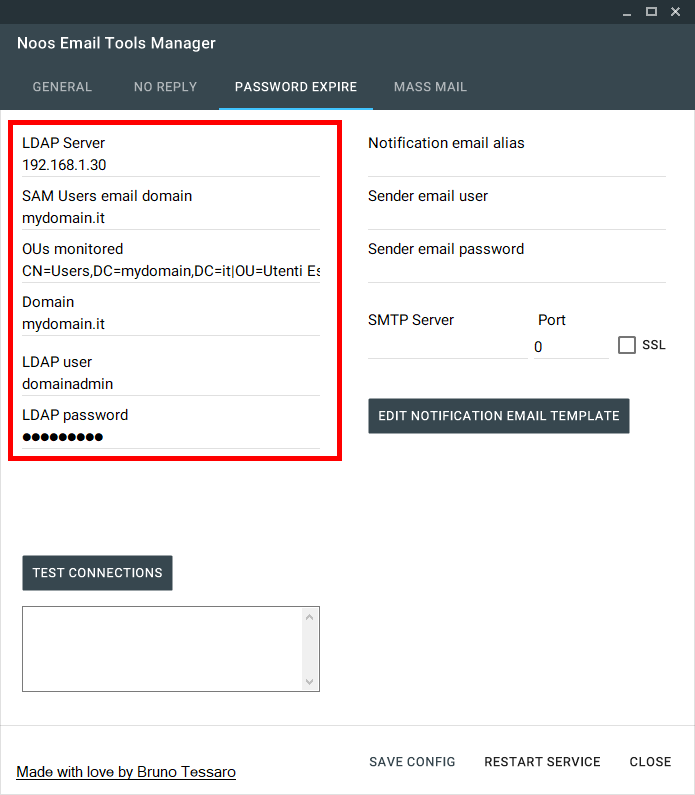
Tool also has a function to send an email notification for account password expiration if you are in an Active Directory LDAP domain
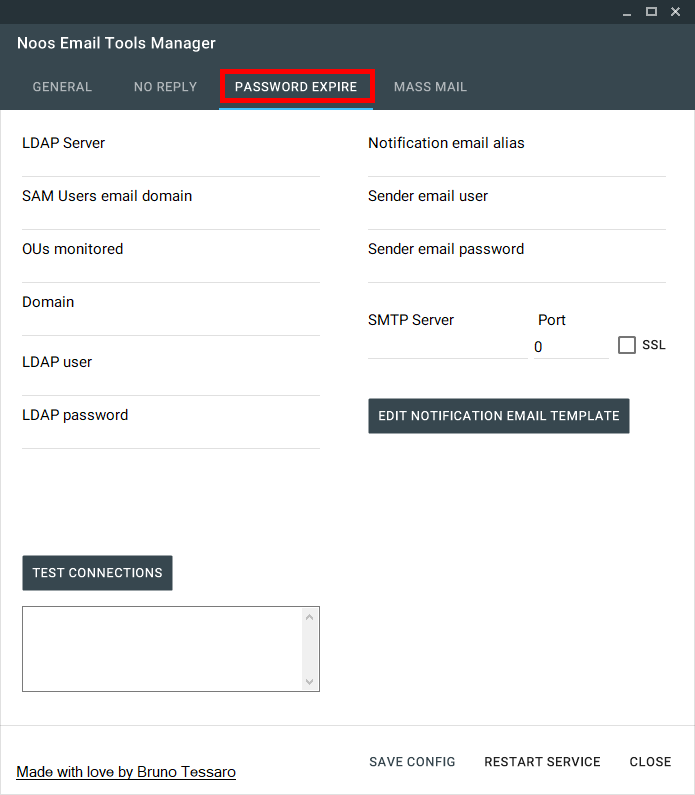
Configure section with access data to LDAP server to query the interested OUs and account list inside them
Configure section with notification sender account
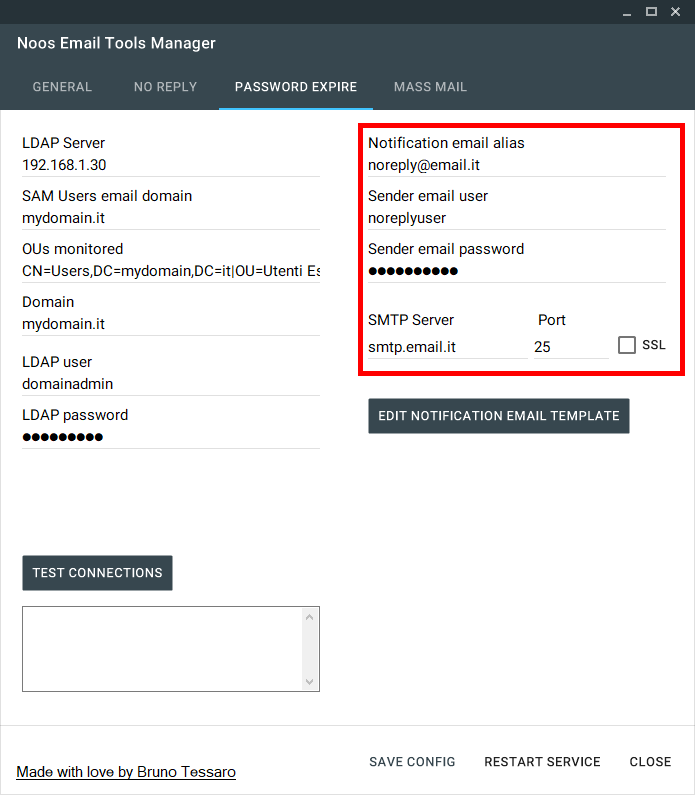
Also for this service, you can set the email notification template
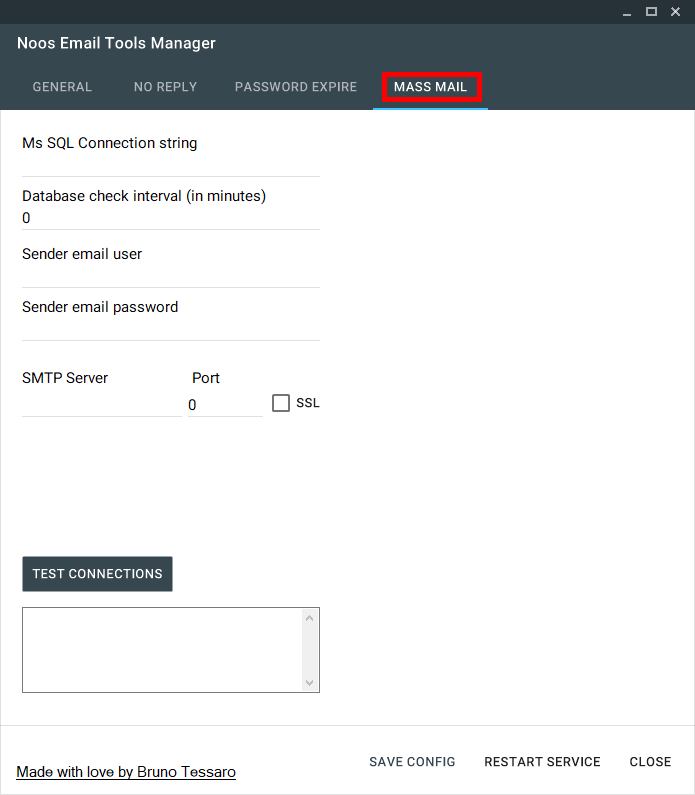
If you have a Ms SQL Server database with a suitably configured table, a mass mailing service in scheduled mode is available
CREATE TABLE [InvioEmail](
[Da] [nvarchar](50),
[A] [varchar](50),
[Oggetto] [varchar](250),
[Testo] [varchar](8000),
[TipoHtml] [int],
[Data] [datetime],
[Allegati] [varchar](5000),
[Inviato] [bit] DEFAULT (0),
[Id] [int] IDENTITY(1,1) PRIMARY KEY,
[Testo2] [varchar](8000) NULL)
Configure connection string for database access
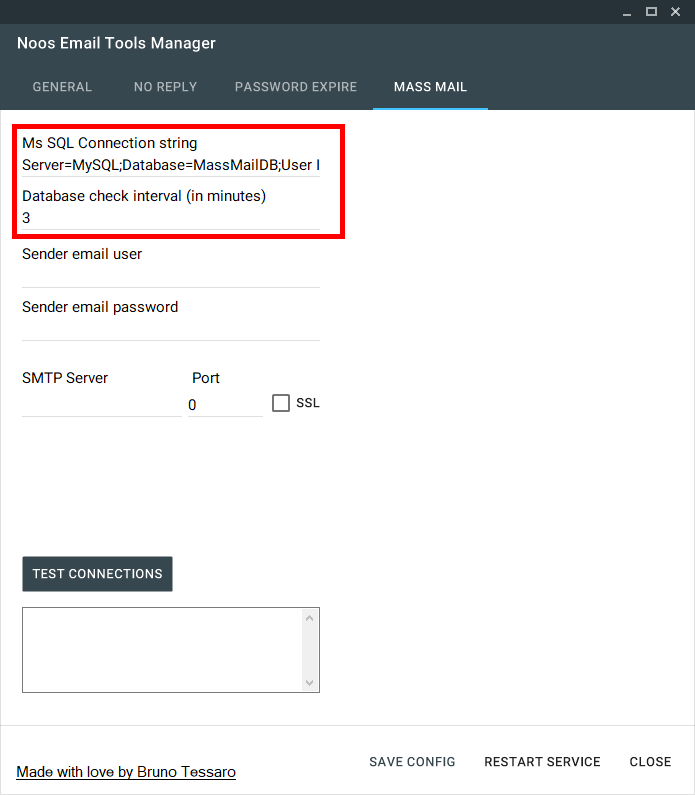
Configure sender account parameters
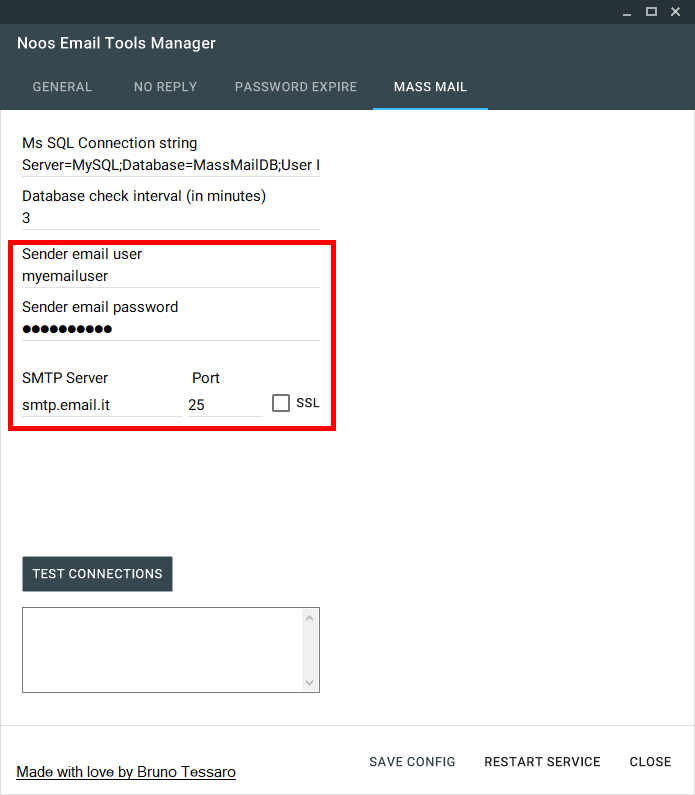
To save configurations, press Save button.
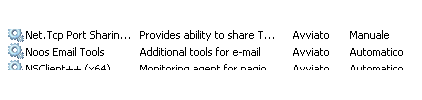
You can apply configurations by restarting the service.
Then close the application.